Writing Workshop is probably my favorite area to teach. I love the challenge it brings. I love the differentiation piece. I love bringing out the creative side of students. Unfortunately, I have yet to encounter a program that works for me the way a flexible writing workshop method does. Most programs I've used have a writing lesson and the expectation is that the class will work on a piece of writing that demonstrates the concept you taught and be done with it within the first few days...and then moves on to a new concept. The problem with this is that students don't have a chance to really work on their writing...and if your students are anything like mine, a couple have less than 2 sentences, some are working on the middle of their story and one or two are done and ready for the next concept/story. Can I get an amen?! Students work at different paces, and their writing instruction should allow them to develop their writing skills before jumping on to a new skill....right? So, this post is going to be long, but stick with it!

Most of the resources in this post are in my Writing Workshop Resource Bundle.
My 45 minute Writing Workshop Schedule:
5 minutes-students getting their binders out, I take Status of the Class by calling on student names and coding what they are working on with this.
5 minutes-minilesson focusing on a goal I notice during Teacher Conferences
35 minutes-students working/teacher conferencing
Every year, I begin my Writing Workshop the same way. I focus on
PURPOSE: Why Writers Write and What Writers Write. We talk about each type of writing and in the end, I lead them to the conclusion that
everyone is an author.
Next, we create a list of things that
HAVE HAPPENED TO US that are worth telling about in our writing. I am specific about this because I do not have a free style Writing Workshop. "I do not want writing about your friend Sarah, but I'd love it if you could write about something you and your friend Sarah did." I go over the difference between "journal writing" (I love my friend Sarah. She is so great. I love her. She is nice. She is happy....) and a personal narrative that actually tells a story. Incoming 2nd graders typically love to journal, and it takes awhile before they see the difference in that and telling a story. I emphasize the "
Has it happened to you?" quite a bit in the beginning. It took me a few years to figure out how exactly to communicate this idea to 7 year olds, as they would start off writing about their birthday party and end up going off on another tangent. I'm sure you know what I mean. They eventually figure it out with a little guidance and come up with about 10 things to write about after we brainstorm together.
I give them a page protector to store it in so it doesn't fall apart throughout the year. They keep this and all of their writing tools I give them (all in page protectors) in a 1 1/2 inch binder. I use binders. I LOVE binders. Binders are nice. See? I can journal, too!
Next up, the
Writing Process. I start this off by taking a story of my own through the whole writing process. This takes about a week to do, but is worth it in the end as they can see how writing a story doesn't take one day (like it may have before) and that real authors go through a process.
First up in the Writing Process is
Prewriting. Students draw what happened to them on one side (Prewriting Sketch), and on the other side, fill out a Prewriting Map. I emphasize that this is simply a guide for them, not where they need to write sentences. I demonstrate by putting single words down (note-taking style).
After I complete my Prewriting Map, I show the class the Writing Process pocket chart (from Lakeshore Learning) with their individual names on little pencils, and then I move my own pencil to the next stage (drafting). There are so many awesome ideas out there to keep track of where they are in The Writing Process, but this is the one I went with. Then, I give them time to complete their own Prewriting Map.
Also, I keep pages of what to do for each stage of the Writing Process up next to the pocket chart so they can read it if they don't remember what to do. The language is very kid friendly and specific.
*The current signs I have up have snapshots of the prewriting map, peer conference sheet, and photos of kids throughout the writing process so they'll know what it should look like.
Next, we move to
Drafting. I like to use spiral notebooks, but any sort of lined paper will work really. In the beginning, I just focus on using a pen and skipping lines. I
make them use a pen because I noticed students taking too much time to erase and just being frustrated, not letting the creativity flow because they were afraid they would need to fix something if they made a mistake. PENS. Can't say how much they save time. Most 2nd graders coming in aren't use to using a pen, so I demonstrate how to put one line through a mistake word or sentence, rather than scribbling over and over on top of it. I explain that it is completely OK for it to look messy, and show them an old journal with lots of scribbled pen. The idea of a 'rough draft' is new to them, and most 7 year olds
DO NOT LIKE IT. I assure them they will get over it in time. They always do. We also discuss using the whole page, starting at the pink line on one side and going all the way to the other pink line. This is a novel idea to at least 5 students every year. Some have experience skipping lines, but just in case, I demonstrate and show them the point. I write a word or two that I didn't
"mean" to write, "
discover" that I wanted to say something else, and just cross it off. I write the new words above the crossed off ones and show the class that it's just that simple. A thought lightbulb might explode above someone's head: IT IS OKAY TO MAKE MISTAKES! I model not knowing how to spell a word, sounding it out the best I can, then circling it and writing "sp" above the circle to show that I need to check the spelling with the teacher later on (during Publishing). Spelling can be such a hold-up for so many kids, I want them to move past it and not worry during Drafting. This does the trick. I also model using a "carrot" to insert words I forgot...more lightbulbs. While I am showing them how to use a pen and skip lines, I am also showing them how to follow the Prewriting Map from the first step and make a story out of my notes.
.jpg "Writing Workshop")
Later on in the year when they've had a few more minilessons and tools added to their binders, Writing Workshop will look like this when a student is in the Drafting stage. Lots of tools out, and actually using them.
Then, when my story is complete, I move my Writing Process pencil on to
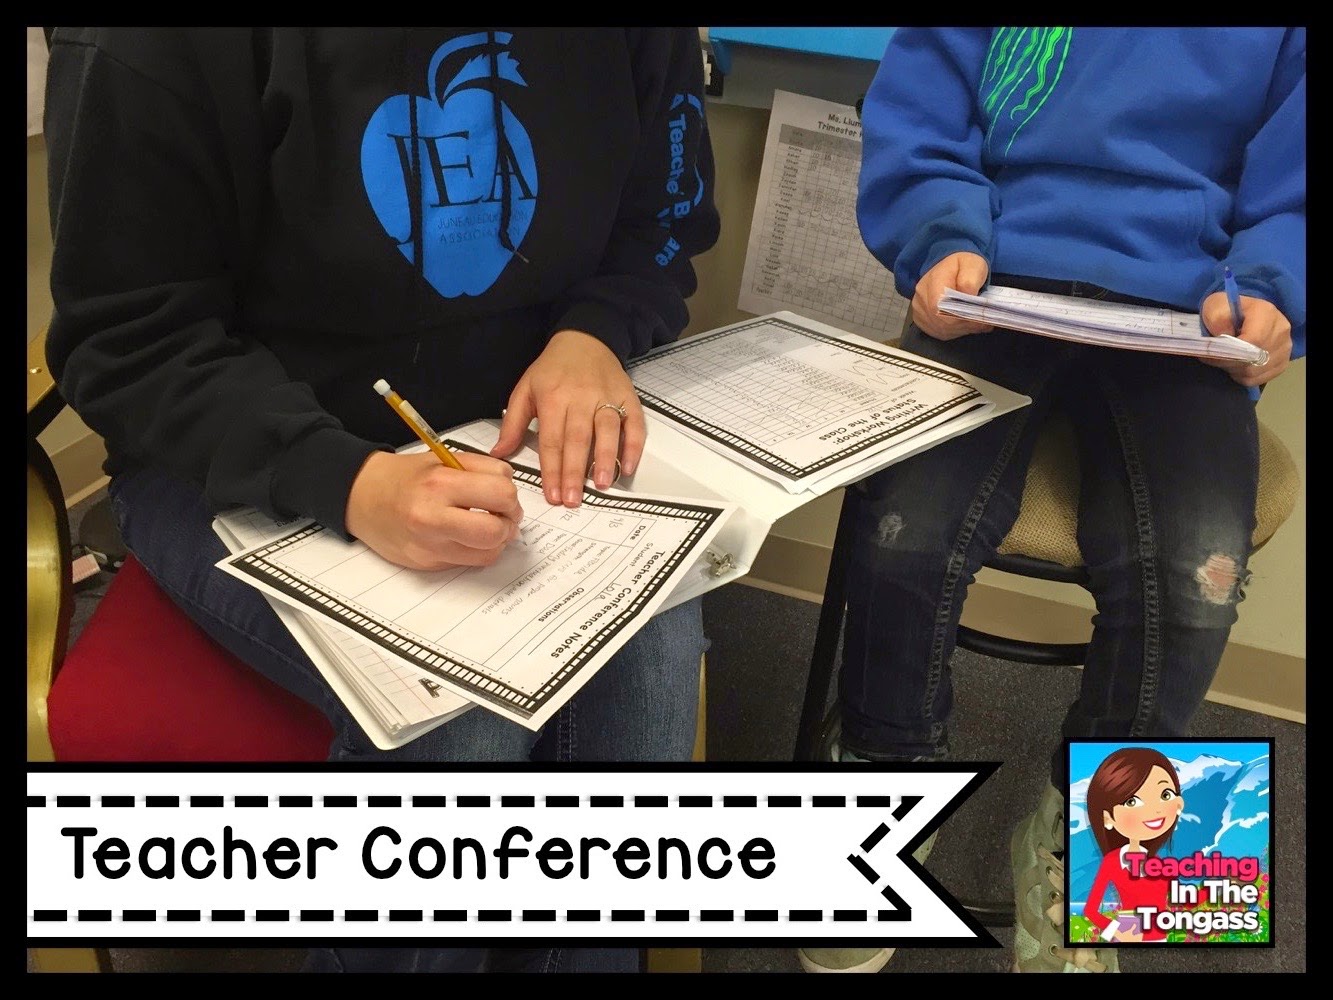
Teacher Conference. Now, to model this, I can't exactly talk to myself. Well...I can but I won't. So, at this point, I stop modeling and have all students start drafting. This takes a few days. When I finally have a good group of students ready for a Teacher Conference, I take a volunteer to do a Conference in front of everyone.
The student brings their writing journal, pen and Prewriting Map to me. I used to bring a chair and scoot around to them like I was taught to do by so many Writing Workshop authors, but I soon realized, they're young, I'm old with bad knees,
they can get up and come to me! So, we sit together. They give me their Prewriting Map. I open my Writing Workshop teacher binder and turn to a page with their name on it to take notes (I keep each page in a page protector). ***Update--students now are keeping these in their own Writing Workshop binders and bringing them to me for Teacher Conference :)
Then, the student begins reading their story.
I specifically DO NOT READ from their journal. I found that if I do, I end up focusing on conventions ("That's spelled like....You need a period there...That needs to be capitalized...). So, they read. I listen and look straight ahead. I jot down notes. They use their pen to fix anything they notice wrong while they read. At the beginning of the year, I tell the student what I noticed they did THAT GOOD WRITERS DO. I write these in the Strengths section of my notes. I use the same language every time. I say things like:
You used a pen! You skipped lines! You sounded out that word the best you could! You had a beginning/middle/end! You capitalized the beginnings of sentences! You remembered to put periods and knew where to put them! Your story makes sense!
Lots. Of. Encouragement. After a few weeks, we make a poster of Things Good Writers Do (that we'll add to as we learn from minilessons). Here's an anchor chart from last year:
Then, after lots of minilessons (usually by December), I give them a checklist to use that has everything they've learned so far on it. They need to go through the checklist
before they come to Teacher Conference:
Around November, I don't tell them what they did, I ask them: "What did you do that good writers do?" Then, I choose just 1-2 things they need to work on (sometimes I write it down for them in their journal or on a sticky note) and write it in the Goal section. I look back at this list whenever they are in Teacher Conference to see if they remembered to do it for their current story. If they didn't, I show them and remind them that was a goal they had last time. They hop off the chair and head to their desk for a couple revisions, and then move their Writing Process pencil to Peer Conference.
I do take a quick peek at the journal to make sure the handwriting is at least legible. It's important that their writing is legible enough for one another to read. If it isn't, I address this during the Teacher Conference. They cannot leave the Teacher Conference stage if other people can't read their handwriting. This will be important during Peer Conference.
IMPORTANT: During a Teacher Conference, I can only meet with one student at a time. The problem with this is, what do the other students that are also ready for a Teacher Conference do while they wait? I have tried having them write something else, but that never seemed to work out (it could sometimes be a couple of days before I get to one student, and then they have multiple stories going on...not ideal for a 7 year old when you consider organization and memory an issue). So...my solution:
While You Wait Packets. I don't often get to make use of the Daily Oral Language worksheets used for conventions, or even the fun Word Ladders (my students' recent preference), so while a student is waiting for me (or another student during Peer Conference or Peer Editing), they pull out their packet (which is kept in their binder). I usually make a 20 page packet at a time, and give them the next packet as soon as they finish one. Ideally, no one would have to be doing a worksheet. Worksheets aren't "best practice." However, there are times when students need to be completely independent. This is one of those times. My only rule for While You Wait Packets: don't ask me for help with them. If you can't do something on the page, skip it. I usually put something like handwriting or grammar practice in a packet.

When a student moves their Writing Process pencil to Peer Conference, they check to see if another student is available to meet (if another pencil is in that stage in the pocket chart). If there's someone available, they paperclip their pencil to that persons' pencil and go tell them they are partnered up for a Peer Conference (if there's no one available, they work on their While You Wait Packet until someone comes to them). At this point, they both go get a Peer Conference sheet.

Next, they go to a quiet area in the room to conference. In my classroom, most kids just find a place away from the desks and sit with some clipboards to do their peer conference. The area is far enough away that 2 students talking quietly would not interrupt the rest of the class. Basically, a Peer Conference is the same as the Teacher Conference, but with a peer instead of a teacher. The student reads their own writing, a partner listens and thinks about a question they might have, and then gives feedback. I model what a Peer Conference looks like and what it does not look like (inattentive listening, talking about something other than writing, etc.). When they are finished reading, the partner verbally tells them what they liked about their writing, not something they liked in the story (not "I liked that you got an American Girl doll"). Then, the partner writes down what the writer is missing or should add (i.e. What kind of birthday cake did you eat? What did your swimming suit look like? What kind of dog is it?). The writer DOES NOT verbally answer. This is so hard at first, but they tend to think if they just answer their partner, they are done and don't have to put it in their story. They switch and repeat the process with the other partner's writing. Then, they go back to their desks and fix what their partner suggested they fix. That is Revising.
After students finish Revising, they move their Writing Process pencil to Peer Editing. Again, if someone is available, they paperclip their pencil to that person's pencil. Otherwise, they pull out their While You Wait Packet. They do not have to partner up with the same person they were with for their Peer Conference. For this stage, students swap journals and, at their own desk, edit using a red pen. It's important that they sit somewhat away from one another. I found that if they are right next to eachother, they tend to watch the other person marking their paper and get defensive, which is not a good environment for an editor! They look for very basic mistakes that they can help with. In the beginning, I emphasize that this is NOT A BAD THING! They are sometimes insulted and I want them to remember that their partner is just doing their job. I model someone marking my writing with a red pen. I act very grateful for their help and thank them for catching all of those mistakes! Thank goodness it's in red pen so I can see where I need to change things (during Publishing). The only spelling words they can circle for their partner to fix are words that are on our Word Wall. I keep this poster up for a few months so they can get use to the symbols for editing.
.jpg "Writing workshop")


When they are finished editing and have given back their partner's journal, they move their Writing Process pencil to Publishing. During Publishing, a student copies their messy draft into a final draft. I have nice, lined, white paper. They use their best handwriting. They use pencils so they can erase (yippee!). At this point, if they need help with any spelling, they can bring me, or another adult that may be in the room, a sticky note and pen/pencil and ask how to spell a word (if it's not already on the Word Wall).
Once they are finished writing their final draft, they have a few more options. I have a cover page for artwork. They can only use pencils to draw at this point. At the end of the year, they get a week to color all published writing cover pages that are in their binder.
I also have a Dedication page, and an About the Author page. I read them a few selected Dedication pages from actual books, as well as a few About the Author pages (our basal texts have these for every weekly lesson). We discuss things you can write about on either page, and I make them optional.
When they have finished, they staple all of their work together (everything except for their first draft, that stays in the writing journal). They turn it in to me, I read it and give it back to them. Although we discuss Self-Evaluation and they learn mid-year how to do this, I don't actually grade each piece of writing they turn in. They are introduced to a Self-Evaluation Tool and a 4 star rubric (during a minilesson-I show them how the exact same story can be written 4 different ways to receive 4 different grades), but realistically I grade their individual writing only 3 times per year.
Once I give back their writing, they put it in their binder. If they want, they can sign up for Author's Chair and read their story during snack to get 3 positive feedback statements.
Mr.Tongass revamped an old chair to make it fit for a King or Queen...who wouldn't want to read a story in this chair?!
In the end, students write about 1 story per month. They keep all of their writing in their binder until the end of the year when they get to take it home. I love looking back at all of the different writing to see the changes. So do they! The growth is phenomenal, and the best part is that they recognize that!
So, that's it! Throughout the year, I figure out what students need based on their goals in Teacher Conferences. I use that information to guide what my minilessons will be about. I am resourceful and try what other people try first before I make my own. I use Pinterest and follow blogs. I keep it simple, but have high expectations.
To download a
freebie and for more anchor charts, click below!


.jpg "Writing Workshop")
 Next, we move to Drafting. I like to use spiral notebooks, but any sort of lined paper will work really. In the beginning, I just focus on using a pen and skipping lines. I make them use a pen because I noticed students taking too much time to erase and just being frustrated, not letting the creativity flow because they were afraid they would need to fix something if they made a mistake. PENS. Can't say how much they save time. Most 2nd graders coming in aren't use to using a pen, so I demonstrate how to put one line through a mistake word or sentence, rather than scribbling over and over on top of it. I explain that it is completely OK for it to look messy, and show them an old journal with lots of scribbled pen. The idea of a 'rough draft' is new to them, and most 7 year olds DO NOT LIKE IT. I assure them they will get over it in time. They always do. We also discuss using the whole page, starting at the pink line on one side and going all the way to the other pink line. This is a novel idea to at least 5 students every year. Some have experience skipping lines, but just in case, I demonstrate and show them the point. I write a word or two that I didn't "mean" to write, "discover" that I wanted to say something else, and just cross it off. I write the new words above the crossed off ones and show the class that it's just that simple. A thought lightbulb might explode above someone's head: IT IS OKAY TO MAKE MISTAKES! I model not knowing how to spell a word, sounding it out the best I can, then circling it and writing "sp" above the circle to show that I need to check the spelling with the teacher later on (during Publishing). Spelling can be such a hold-up for so many kids, I want them to move past it and not worry during Drafting. This does the trick. I also model using a "carrot" to insert words I forgot...more lightbulbs. While I am showing them how to use a pen and skip lines, I am also showing them how to follow the Prewriting Map from the first step and make a story out of my notes.
.jpg "Writing Workshop")


.jpg "Writing Workshop")


This is awesome! Thank you for sharing how you do your writing workshop.
ReplyDeleteThis comment has been removed by the author.
ReplyDelete