Showing posts with label Halloween. Show all posts

Tuesday, October 27, 2015

Halloween Classroom Party Activities

Hi there everyone! It's Bex from Reading and Writing Redhead. I know your class might be celebrating Halloween soon so I thought I'd stop by with some ideas on how to celebrate in class, whether you are having a party or just want some fun ideas! These are things I have come across in the past and worked for me or look really fun. I have tried to include links to any ideas from around the internet so you can get more details.


Estimate Game: Easy and fun! Fill a clear container with candy corn, plastic spider rings (like these at Amazon), fake eyeball erasers (seriously check them out here- I laughed when I found them) or other. Simply put out blank paper, pencils, and a small basket for kids to write their names and guesses! The winner gets the glory and you can split the items in the jar among the students in the class.

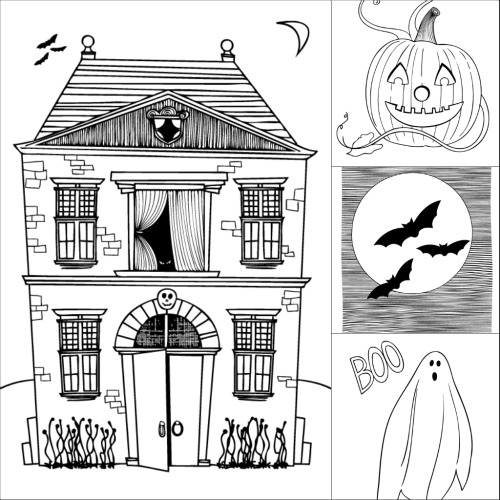
Halloween Coloring Pages: Very simple and kids always love to color. You can find these free in many places. Try the ones at Makes and Takes here.  


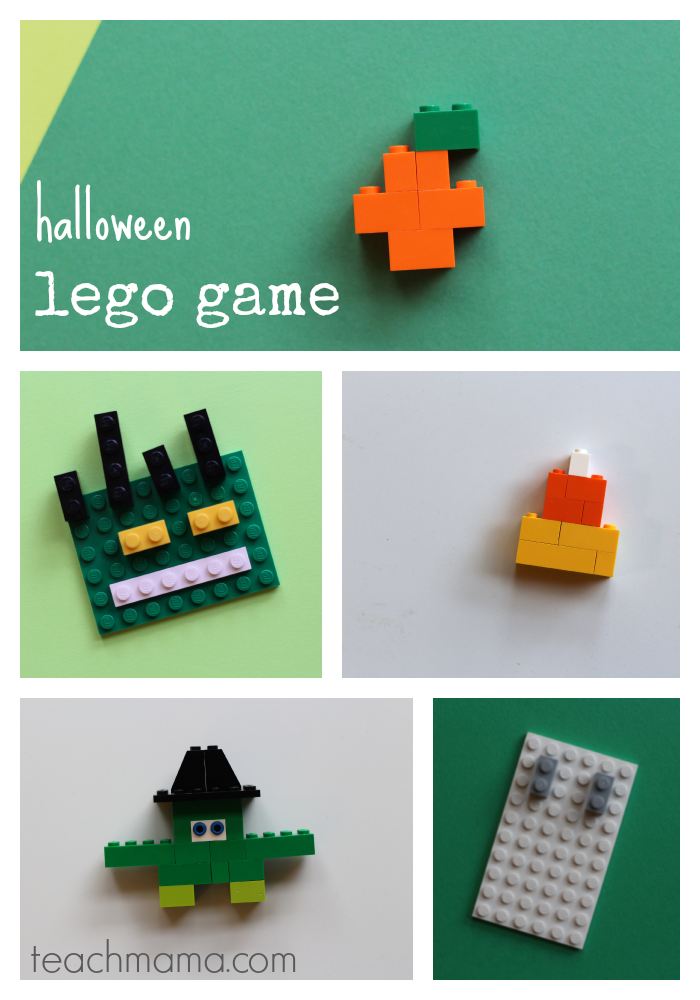
 Halloween Lego Game! It's pretty much like it sounds. Please check out this post from Teach Mama for an explanation! 
Halloween Party Science Station:  Cool experiment ideas including Ghostly Goo, 
Magic Pumpkin Potion and more. Check the full list of ideas here at One Perfect Party.


Gross Halloween Food: Try things like peeled grapes for eyeballs, whole wheat spaghetti for "worms", and cranberry juice for a "vampire drink".

Witches Brew with Dry Ice: Looks really authentic. One of my room moms did it once for our Party and it was awesome. Check out a tutorial at Sandra Lee's site here. (but you ought to leave off the optional alcohol in the recipe!) 

Halloween Witch Pitch: looks kind of like cornhole but with those little erasers and tiny cauldrons. I only found an image but it looks easy to set up and fun! 


What's your favorite Halloween party activity for the classroom? Comment and let us know!

Sunday, October 11, 2015

The Perfect Pumpkin


A few years back I started a fun thing in my classroom in October where I took one of those cheap plastic pumpkins that could fit a few pieces of candy inside. I decided to do something called the perfect pumpkin where I pass it around to kids during the day that are showing positive behavior. The kid who has it on their desk at the end of the day receives the reward inside. I do this each day for the month of October. The kids GO CRAZY for this at the end of the day to see what their peers receive. I decided to create my own box template this year and also include a fun printable award and a class book about our perfect pumpkins from the pumpkin patch. October is one of my favorite months in my 2nd grade class and this is just one more reason why!


Enjoy this freebie that adds to your PERFECT PUMPKIN FUN in your classroom
and motivates classroom management this fall!

 The Creative Classroom


Friday, October 2, 2015

Fern Smith's Tip For Throwing An Owl Party!

http://www.fernsmithsclassroomideas.com/2014/10/tuesday-teacher-tips-cant-celebrate.html
Many School Will Not Allow Halloween Parties
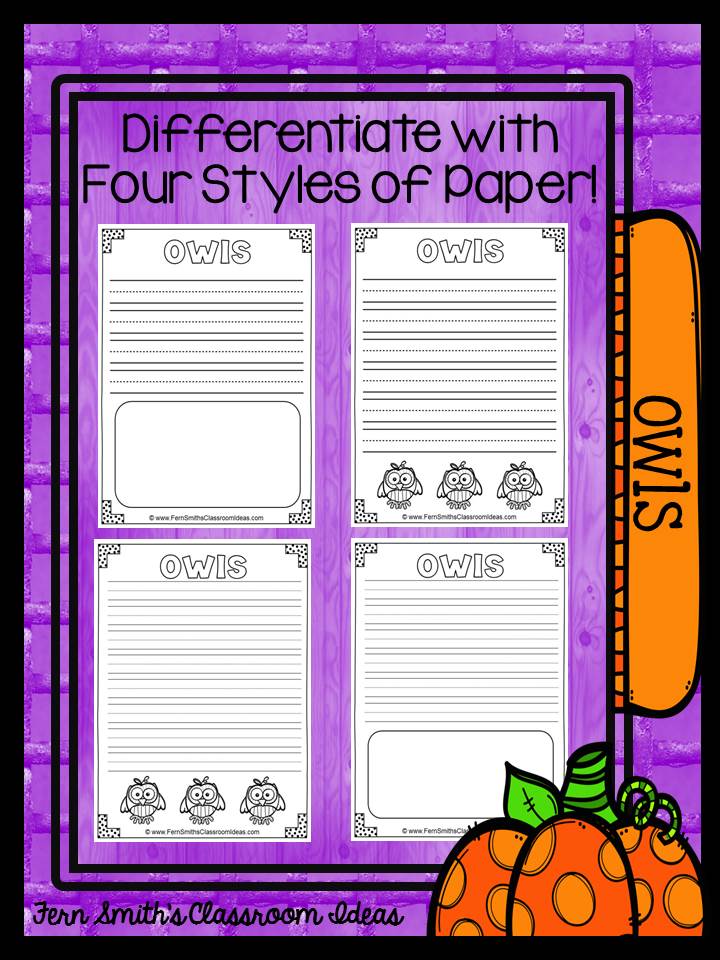
But, if your school allows some fun and games at the end of the month in October, an Owl Party can be a big hit! An owl party will end October with a bang for your students and families!  Lucky for all teacher, Halloween is on a Saturday this year! 
Can I get a great, big Thank You!!
http://www.fernsmithsclassroomideas.com/2014/10/tuesday-teacher-tips-cant-celebrate.html 
Visit my blog for a printable center rotation form so you and your teach can each plan ONE ACTIVITY and have all the students rotate four times. The download file has a few different versions so you can program it to your needs, but a sample image is below.
http://www.fernsmithsclassroomideas.com/2014/10/tuesday-teacher-tips-cant-celebrate.html
 My blog has ideas and links for coloring, writing, videos, crafts and treats. I invite you to stop by now to make your party planning easier this month!

Fern Smith's Classroom Ideas Freebies at Owl-ways Be Inspired
Have a great day friends!
Fern Smith's Classroom Ideas ~ Teacher Tips, Tricks, Resources and Freebies to make teachers' lives easier!
 Follow Fern Smith's Classroom Ideas on TeachersPayTeachers ~ TPT  Follow Fern Smith's Classroom Ideas on InstagramFollow Fern Smith's Classroom Ideas on Pinterest Follow Fern Smith's Classroom Ideas on Bloglovin

Thursday, October 1, 2015

Geometry Spider Glyph

Hi everyone!  It's Anita, again, from Primary "Teach"spiration.  Can you believe it's already October? Me neither!  In the spirit of this fabulous fall month, I have a quick little spider post for you today.


At the beginning of October, my second graders really got into helping with the October decorating of the classroom.  You know, second graders LOVE, LOVE, LOVE doing those kinds of activities.  I am a firm believer that children need time to just have some fun and be creative.  And making October spiders has always been a big hit.

A few years ago, I had a principal who forbid us to do anything in the classroom that was not related to the academic standards.  We were required to attach the standard to any student work or activity that we posted on the walls or bulletin boards.  Can you imagine kindergartners, first graders, second graders, or any grade for that matter, not being allowed to have creative downtime!?

Well, that October, I was not going to keep my second graders from the usual spider craft my class did each year. Sooooo, I changed up the activity a bit to make it a geometry lesson that fit with our geometry standards.  Each spider part had a geometric shape.  We talked about the shapes, their names, how many sides, and how many angles.  The kids had a blast choosing their spider parts and counting the sides and angles before they even began putting their spiders together.

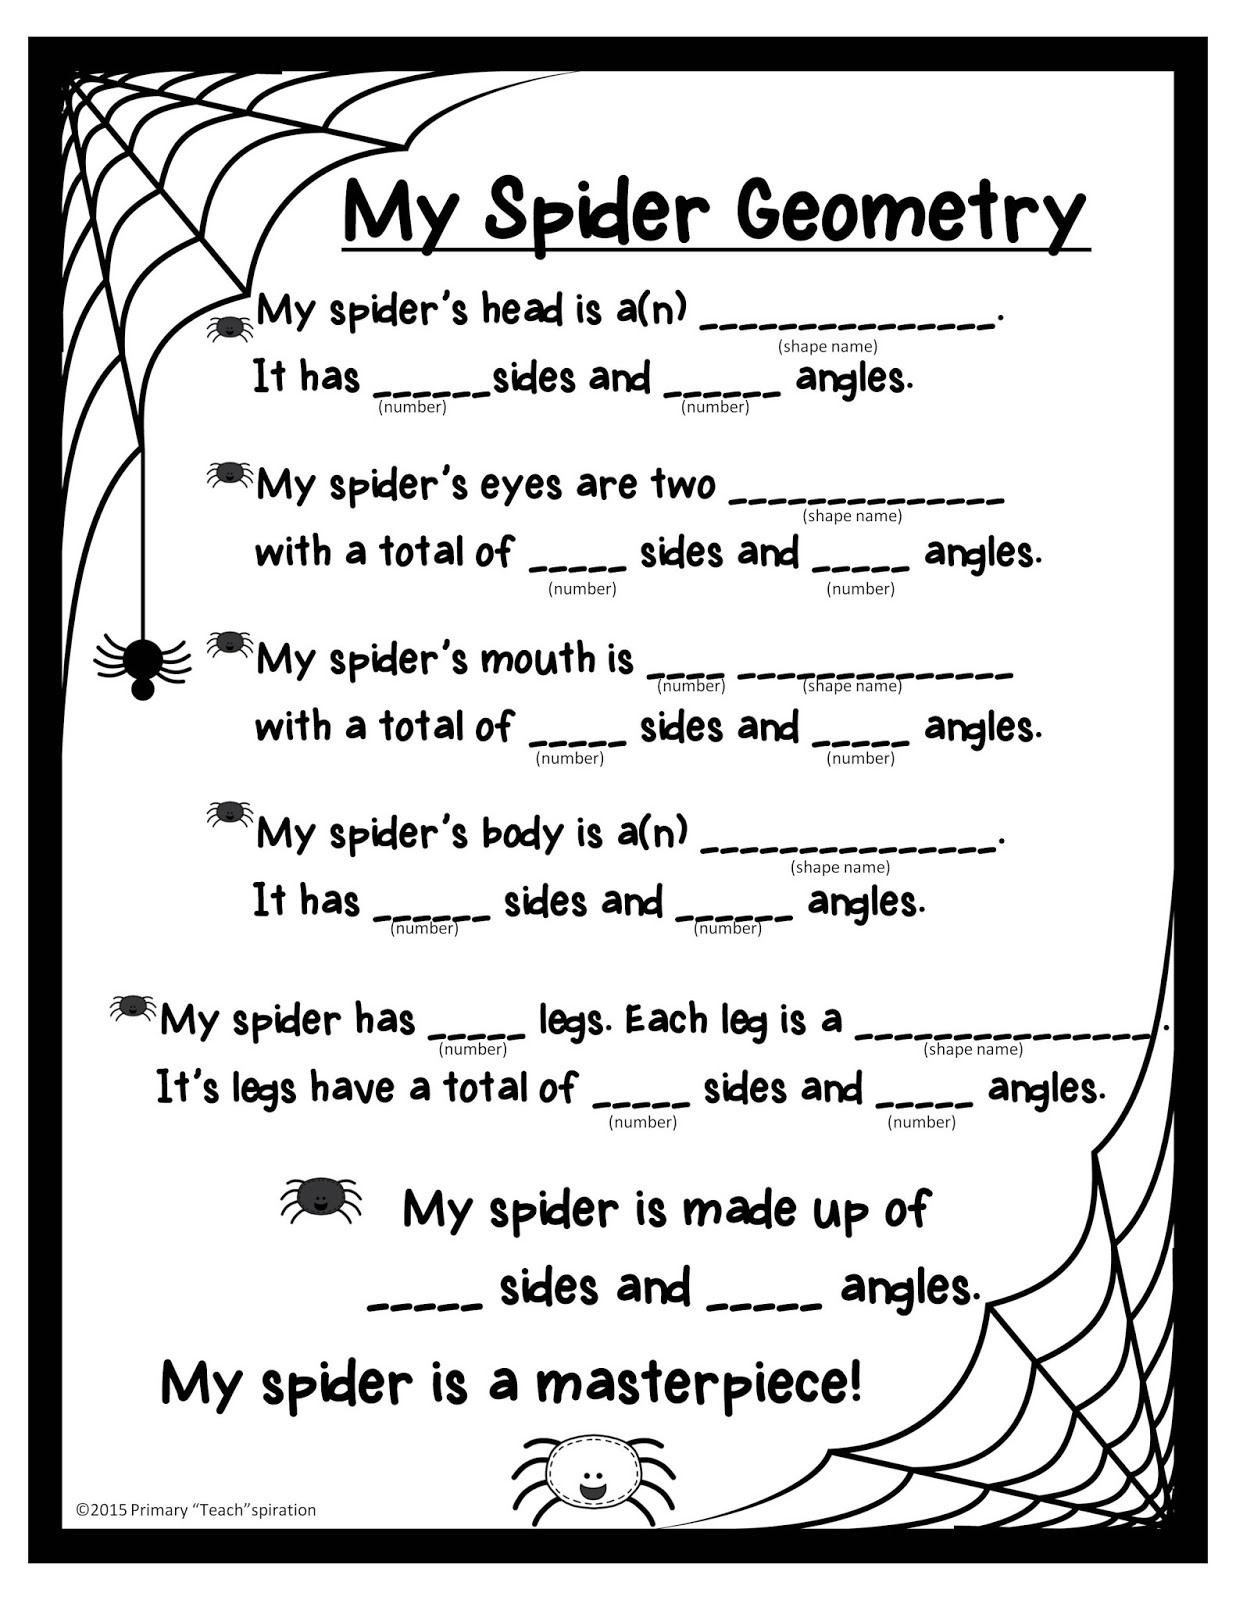
For you, today, I have a Spider Glyph and the spider patterns.  I've also included a Spider Geometry page to guide your students in counting the sides and angles of their spiders (this can be a little tough for some, so doing it in small groups will be helpful).

But first, let me show you how we put the spiders together.  Again, it may be easier to do it in small groups, so you are more accessible to help.

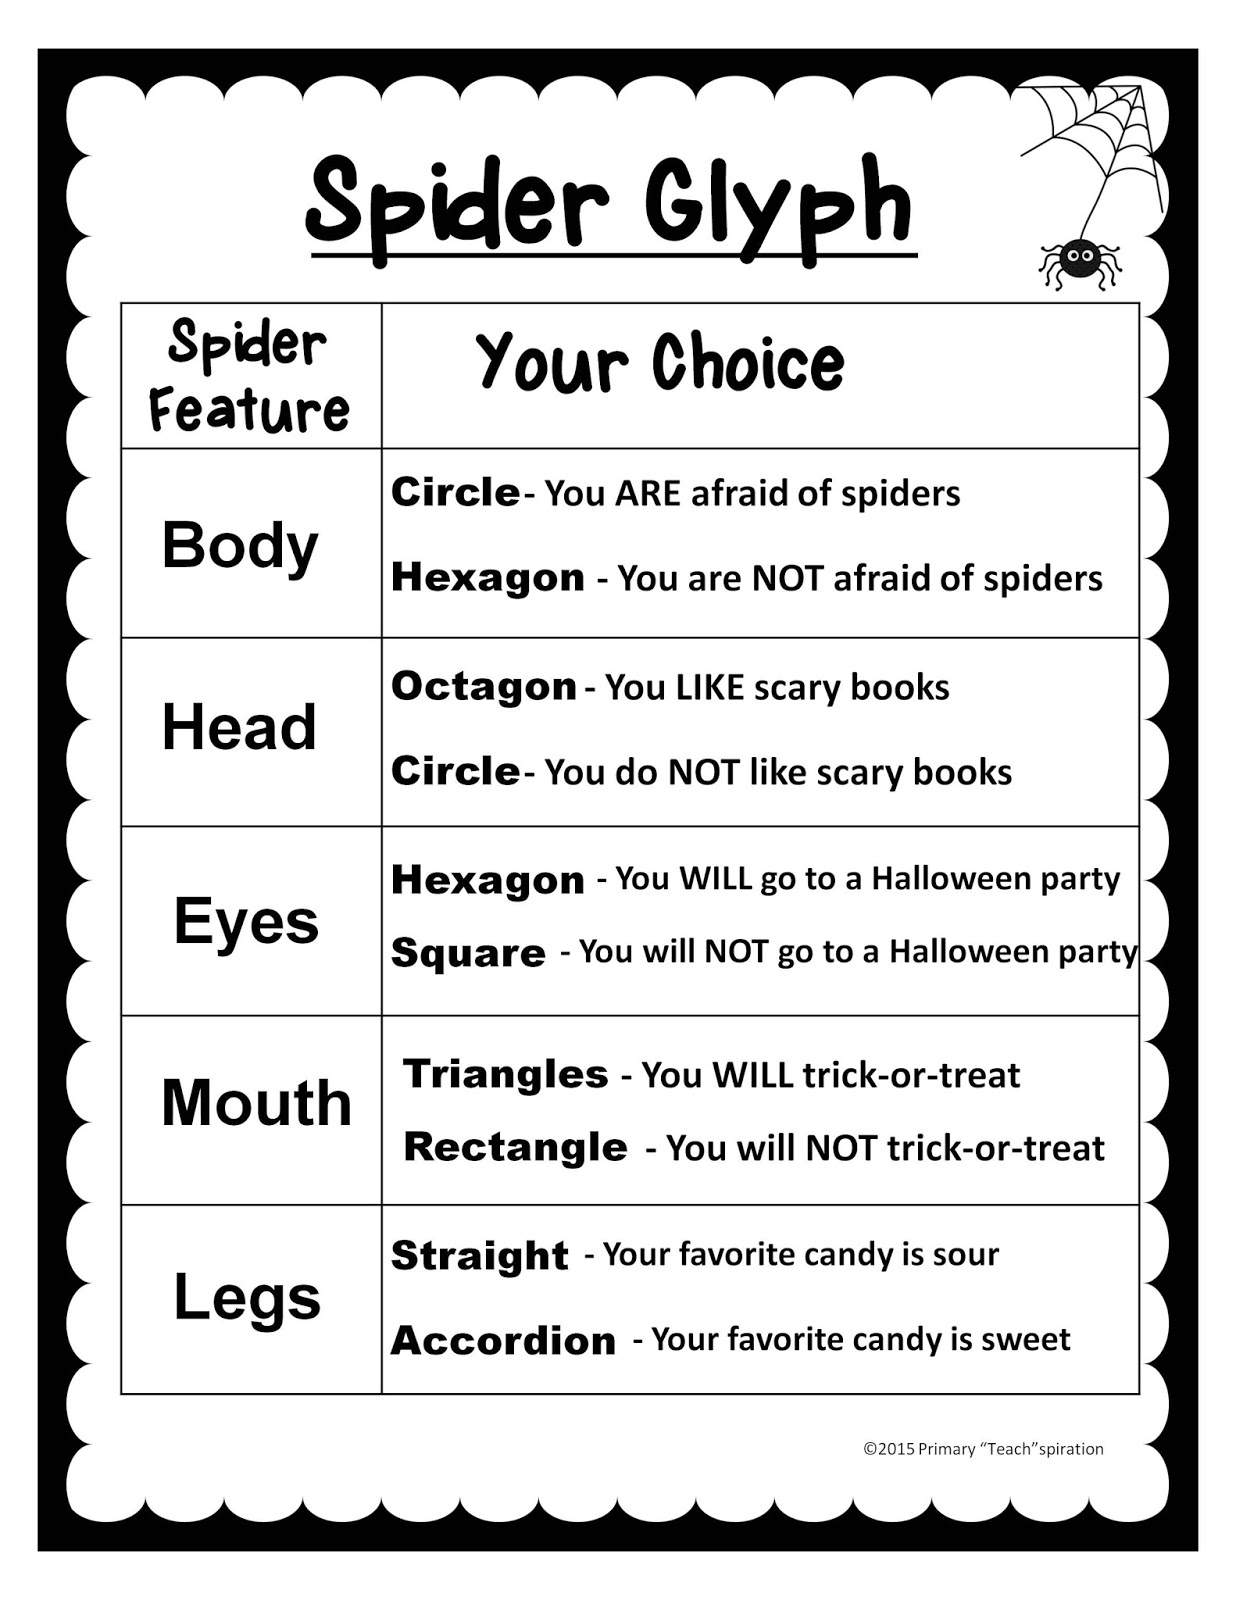
First, here is the spider glyph that is used to design each student's spider, according to his or her answers.

These are the patterns for building the spiders.  I copied all of them, except for eyes and mouth, onto black construction paper, and I could see the pattern lines.  If yours does not show up on black, you could make card stock patterns to trace around.  Copy the eyes and mouth sheet onto white construction paper.

Two per page.

~~~~~~~~~~~~~~~~~~~~~~~~~~~~~~~~~~~~~~~~~

Two per page.

~~~~~~~~~~~~~~~~~~~~~~~~~~~~~~~~~~~~~~~~~~~


Six per page.

~~~~~~~~~~~~~~~~~~~~~~~~~~~~~~~~~~~~~~~~~~~

Six per page.

~~~~~~~~~~~~~~~~~~~~~~~~~~~~~~~~~~~~~~~~~~~~


Rectangular Legs (straight)


Two sets of 8 per page.

~~~~~~~~~~~~~~~~~~~~~~~~~~~~~~~~~~~~~


Rectangular Legs (Accordion)

One set of 8, plus 2.


~~~~~~~~~~~~~~~~~~~~~~~~~~~~~~~~~~~~~~~~~~~~~~~~


Eyes and Mouth Choices


~~~~~~~~~~~~~~~~~~~~~~~~~~~~~~~~~~~~~~~~~~~~~~~~~


After students have their chosen body parts, they may cut them out and begin building their spiders. Take them through it step-by-step, talking about the shapes and attributes as you go.

Glue the white eyes and mouth onto the head.


Fold the body down the middle on the dotted line, with the two little dots on the outside.


Keep the body folded in half, and use a hole punch on one of the little round dot marks.
This will be holes for the web string to thread through, so you can hang the spiders from the ceiling.


Have white string or yarn cut to about a yard length for each student.
Thread it through the two holes evenly and tie in the middle on the backside of the spider as shown.
You can do this at the very end, if you choose.


Glue the head onto the inside fold of the body, as shown.


Glue four legs on each side of the spider's back.


Tie the two parts of the top of the string together and hang the spiders from the ceiling.


A variety of spiders will be looking down at you and your students all over the classroom!


Before you hang the spiders, let your students use their spiders to help them complete the Spider Geometry page.

If you would like the Spider glyph, patterns, and geometry page, click HERE to download them.

Happy October!


A special thank you to Teaching in the Tongass, KB Konnected Clips, and The Clipart Factory for the graphics.